Pocket City's Cross-Platform Development Pipeline

Or, how I made a mobile game as a web developer.
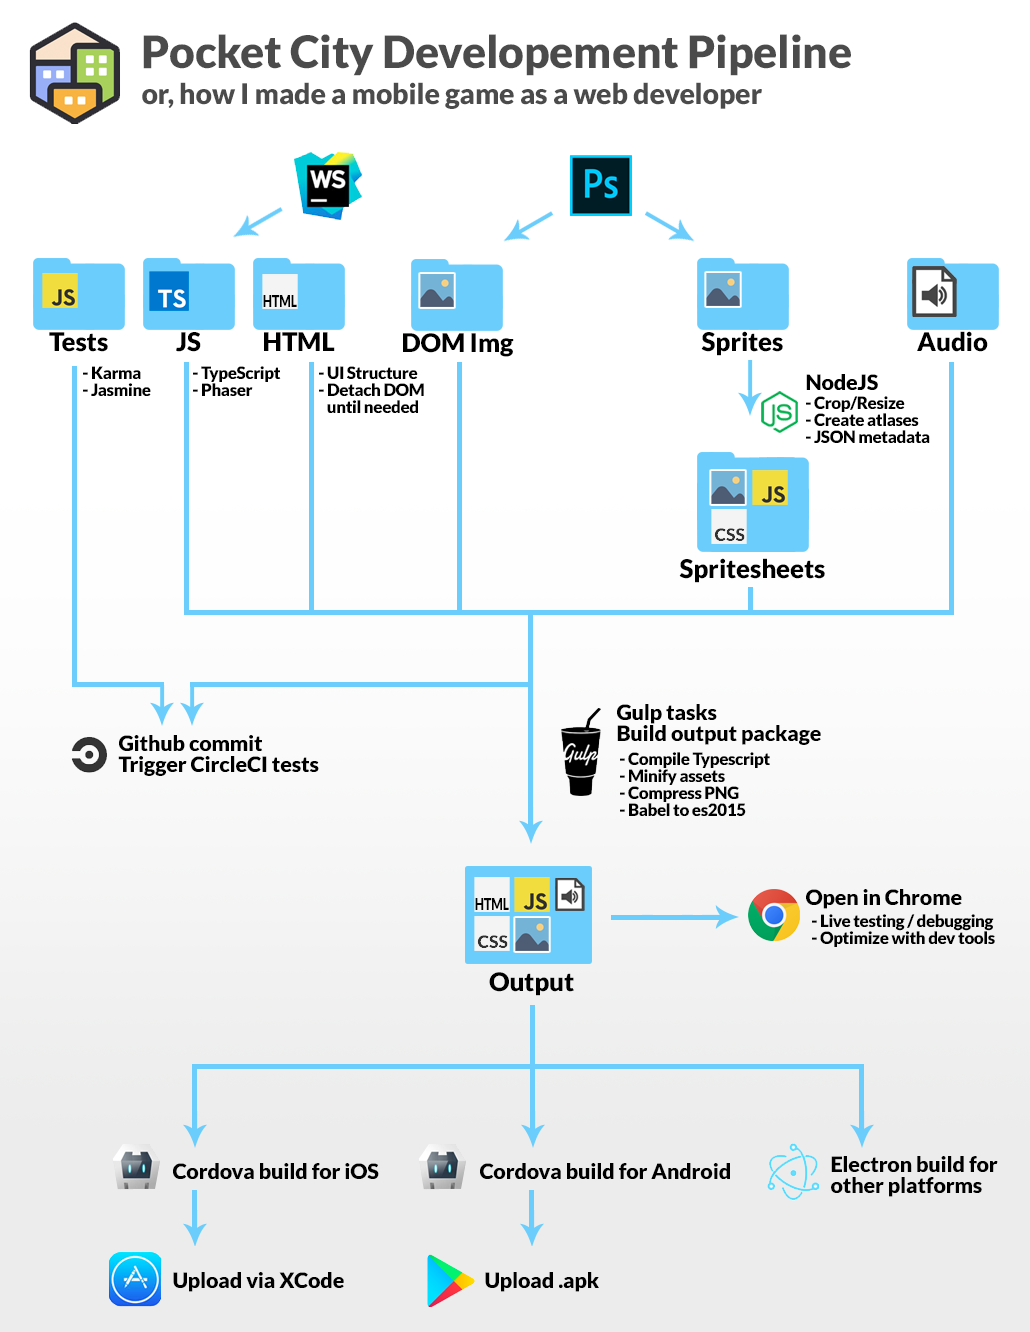
This blog post explains the pipeline for Pocket City and how the game was created. Some players have asked how Pocket City is made behind the scenes. The diagram below shows the basic development flow:

Game source code

The game is created with a framework called Phaser. The game is one canvas element overlayed with various DOM elements.
The game is written in TypeScript, which works much better for large projects than vanilla JS.
Web workers are used for more intensive background tasks, such as calcuating the various metrics used in the game (traffic, power, water, etc).
JS Tests
The tests are written in JS using Karma + Jasmine. These include unit tests, as well as some integration tests where the end-user input is simulated and compared against expected behaviours.
Example: This test checks that after building a university, commercial zones provide more jobs.
it("should increase total jobs from commercial tiles when city has university", (done) => {
    prepareBasicCity(function(city){
        createZoneTile(city, 0, 0, Tile.Type.Commercial,true,true);

        // check jobs
        let jobs1 = city.metrics._lastCalculation.totalJobs;

        // add a university
        createStructuretile(city, 2, 2, STRUCTURE_SHEETS.UNIVERISTY);

        // check jobs again
        let jobs2 = city.metrics._lastCalculation.totalJobs;

        // expect jobs is higher second time
        expect(jobs2).toBeGreaterThan(jobs1);
        done();
    });
});
HTML

The HTML contains the UI structure for the game and also imports the JS (which is combined into a single app.js file) and CSS files.
Optimization note: Most modals in the game are detached (using JS) and re-attached to the DOM when they are in use. By removing the elements, the DOM tree is smaller and faster to repaint and update.
Spritesheets

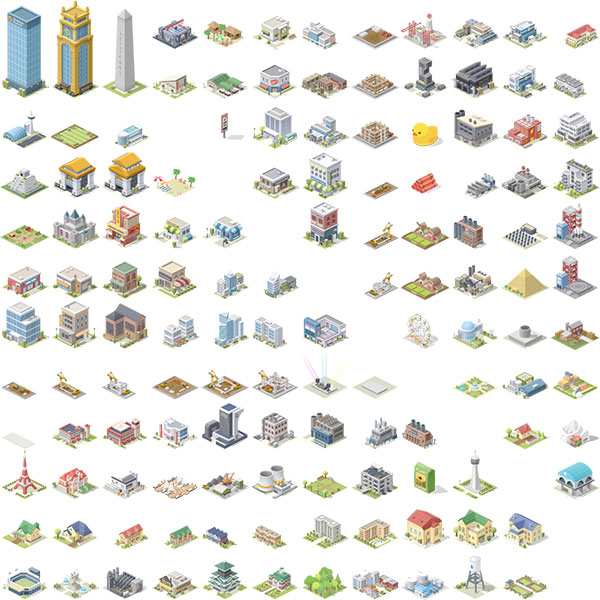
The sprites in the game are created separately, then combined into spritesheets. A NodeJS script is used to create the sheets using the spritesmith package. The script also resizes, crops, and compresses the PNG images.
The script outputs the PNG, CSS, and JSON files for the sheets. The CSS allows the images to be used in the DOM, and JSON contains metadata that allows the game code to use the sprites programatically.

Circle CI
When changes are pushed to Github, CircleCI will automatically run the test suite and show and errors. This is handy and lets me avoid running tests manually on my local computer.
Gulp Build

There is a Gulp script that bundles the final output package. It compiles the .ts files and concatenates them into a single .js app. The script also minimizes files and moves the output files into the proper folder.
Chrome debugging
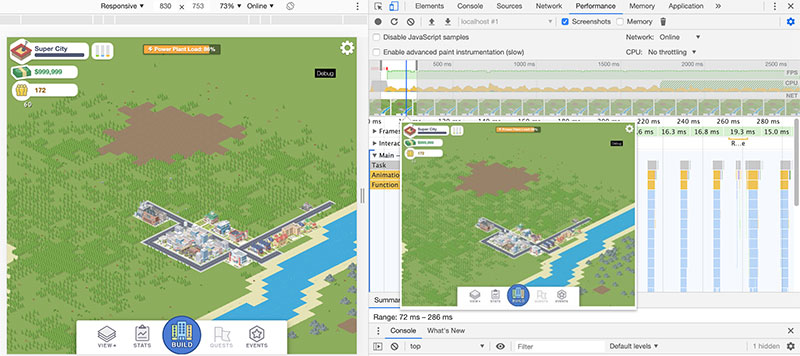
Since the game is essentially a web app, it can be opened in Chrome and debugged directly using the dev tools in real time. The dev tools performance tab is handy for finding places for optimization as well.
Since the game is a web app, it is unfortunately difficult to optimize, which is a trade-off for the convenience of using the hybrid app approach.

Deploying to iOS and Android
Once the package is ready, I have a couple of scripts that call Cordova to build for the appropriate platform. For iOS, the final step is to open the project in XCode and upload it from there. For Android, the .apk is uploaded through the Google Play Developer Console.
I hope you found this post interesting and helped to shed some light on how the game is updated behind-the-scenes!

